Lock down Foamboard fun (1)
18/04/2020
Several years ago, someone asked for a guide on the scenery I have produced, so here it is.
These posts will be somewhat wordy.
Things you will need:-
And above all else, you will need some paper to sketch out your architectural designs.
Firstly, foamboard comes in different sizes. I use the 5mm thick sheets that can be bought in art and hobby shops in A2 sheets. Its Foamboard sandwiched between paper sheets on both sides, and you’ll need the sharp blades of a craft knife to slice them to ensure there is no “drag” and the cuts are clean.
You’ll need to plan out your ruined building beforehand.
As I have previously commented, use the real world designs of medieval buildings as a starting point. Start simple.
How big ?
Most black and white half timbered buildings were built around “bays” which were 12-15′ wide – enough room for a cart drawn by two oxen.
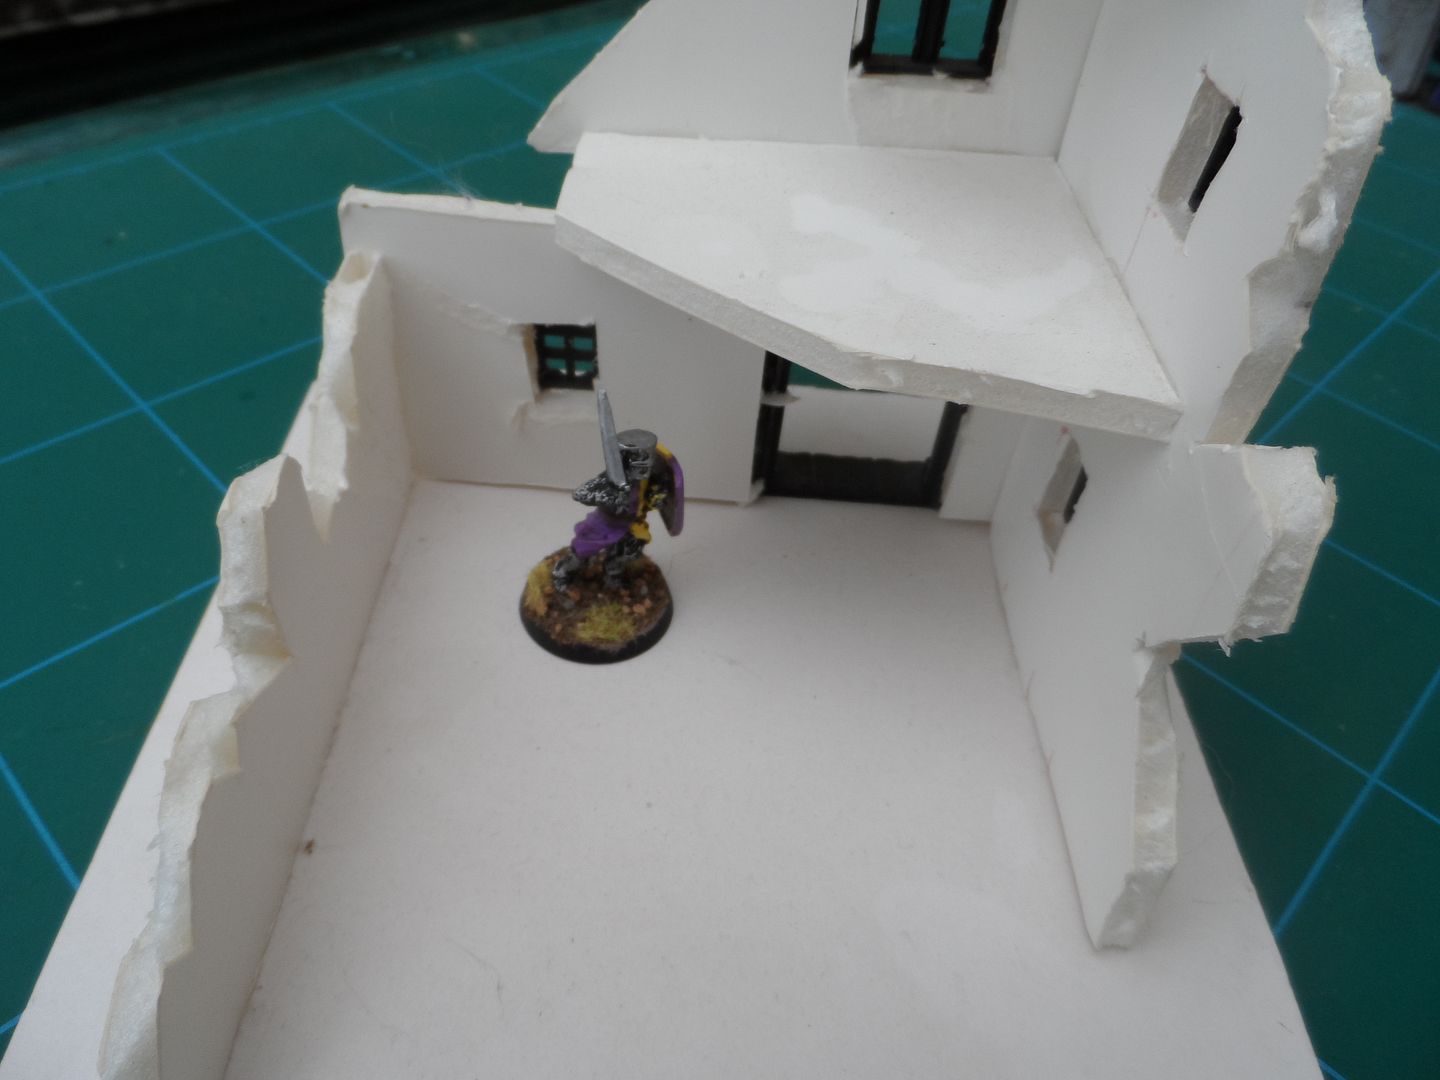
For 28mm figures, this equates to about internal 3″ wide which is also, usefully large enough for the average clumsy gamer to get in and place a figure:
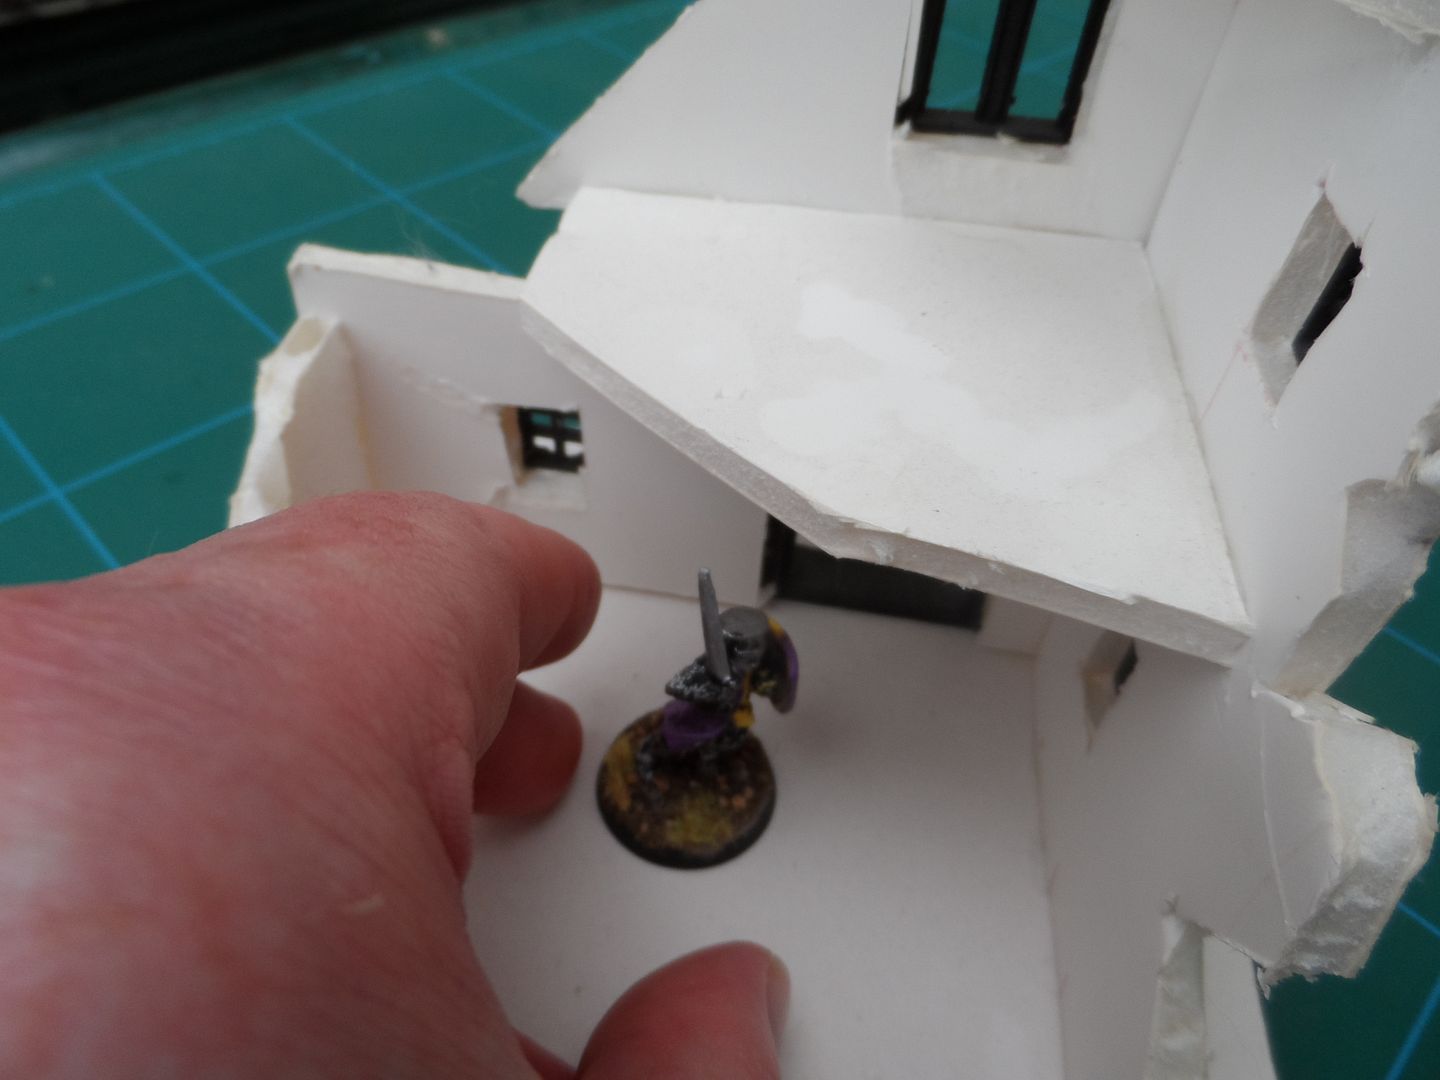
In this case, the ground floor is actually 4″ wide.
How high ?
About 2″ high for each storey. This equates to about 10′ high which is a little tall for medieval buildings, but for practical purposes it works.
At this point, you must remember when designing your building to add in an extra 5mm for the walls to cope with the foam board’s thickness !
The Base
At the same time, you must also plan the width of the artists card board base you will be using.
So, you need the dimensions as such:-
I’ve listed the external surround so you can add paving, rubble and so on, but to allow figures to move between individual buildings.
The Plans & Markings
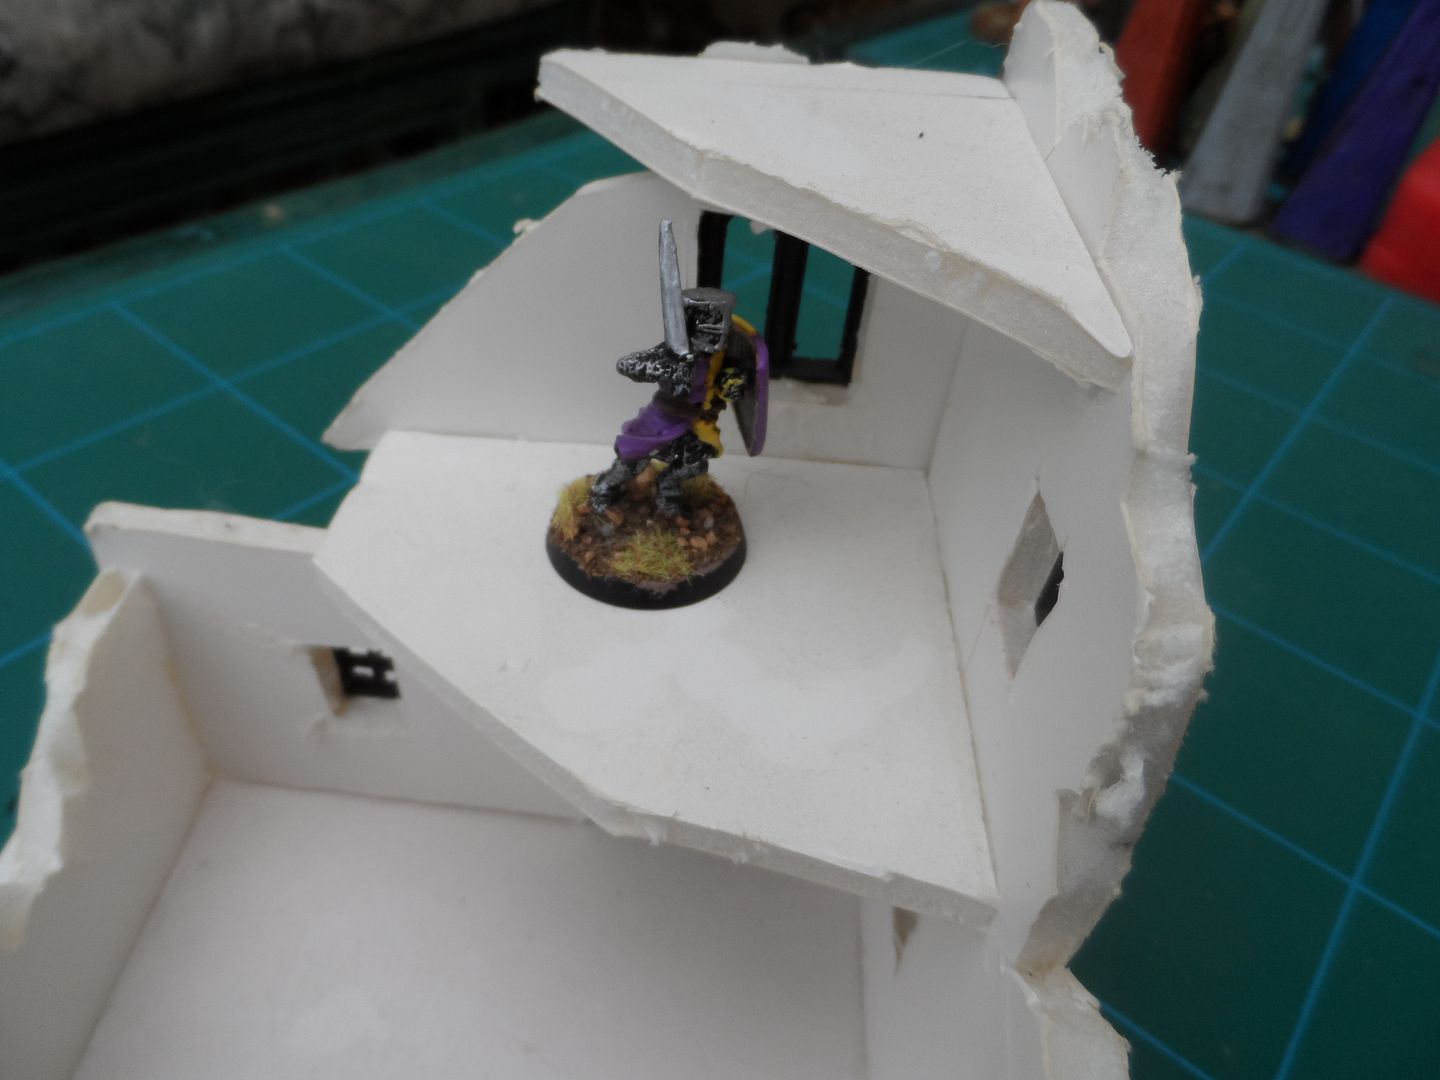
Overhangs – jettied buildings were common in the medieval period, I generally make my jetties for the upper floors an inch, which allows average sized figures have cover.
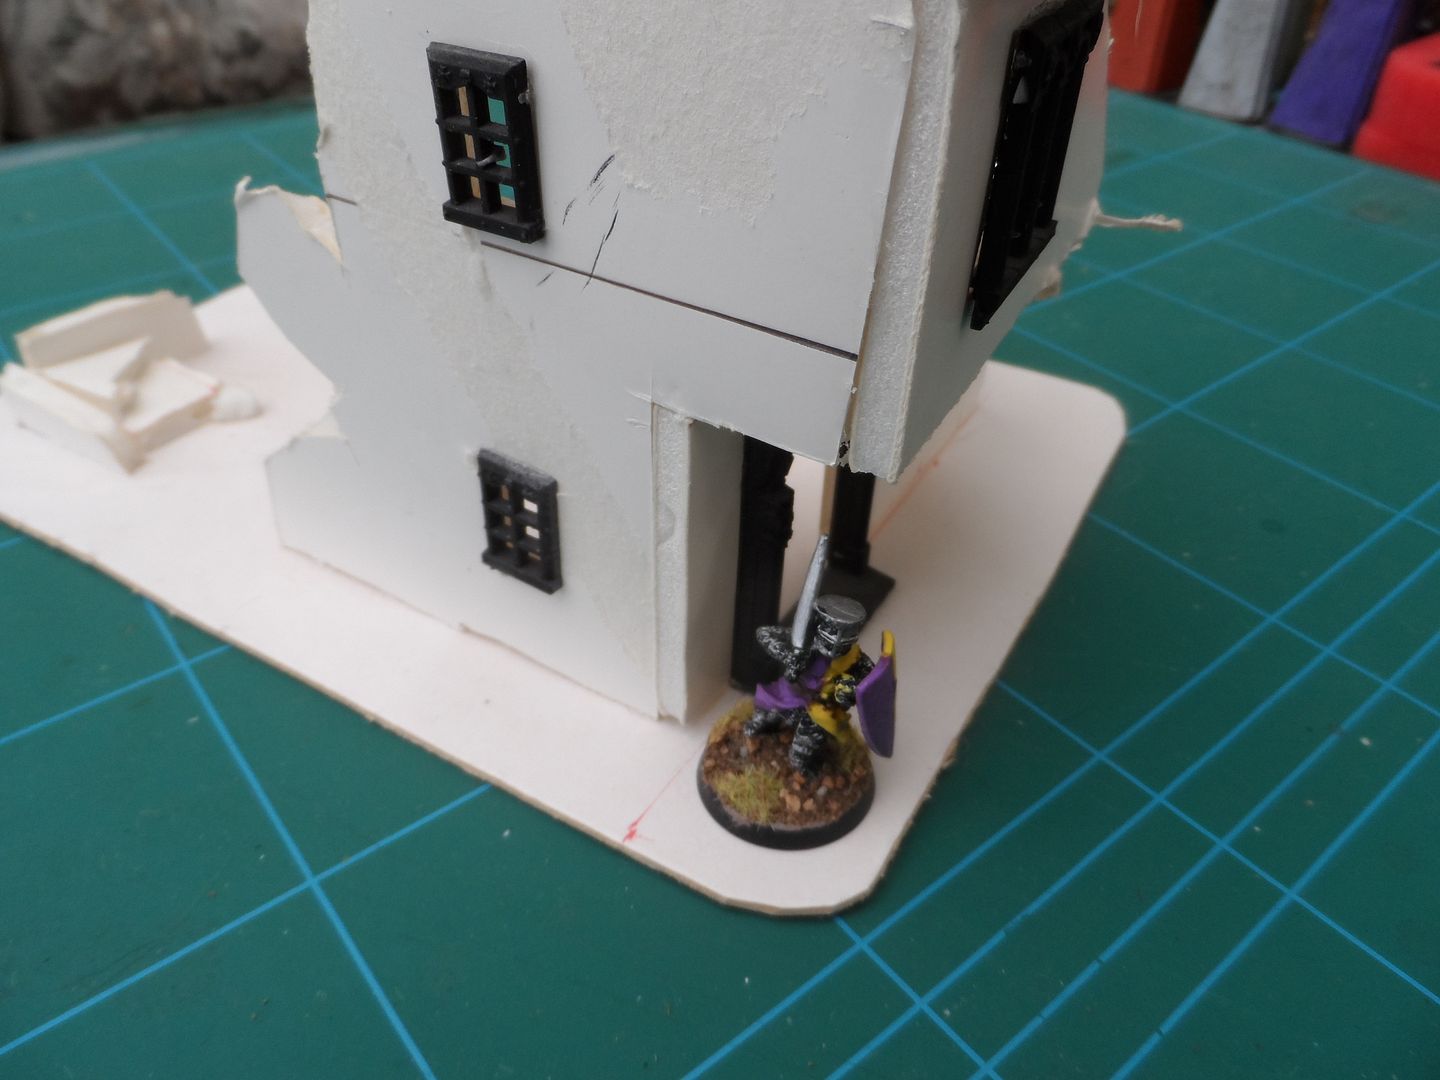
You can see where I have marked out the dimensions on the card base, and the Foamboard wall pieces.
Use the sharp craft knife to carve out the Foamboard, use the steel ruler to guide you for the straight edges – plastic and wooden rulers will get carved up easily.
Note also, I have rounded the edges of the card base – use 30 degree cuts with sharp scissors – I suggest using dressmaking scissors as they are very robust. This means you have no sharp edges on card which inevitably become frayed and broken.
In the sample above, I have cut out windows and doors (about 1″ wide) and used the old Mordheim plastic pieces. These are now OOP, but other manufacturers are available.
This should give you the carcass of the building on a wide base to amke ti stable and robust.
Next up, I’ll go through the detailing.
